This tutorial is based on the e-Pencil #2 script available at PencilPixels.com

It starts with a good image. Like any plug-in or action from any company, images that are blurred, or contain a lot of image noise, or are overly compressed, dark or low in contrast, will yield poor results. Keep that in mind.
You can adjust the opacity of layers in our scripts to increase or decrease the effect of the resulting image. Adjusting any of the the layers, for opacity, visibility or blend mode, changes the appearance of the effect and allows you to customize your end result.
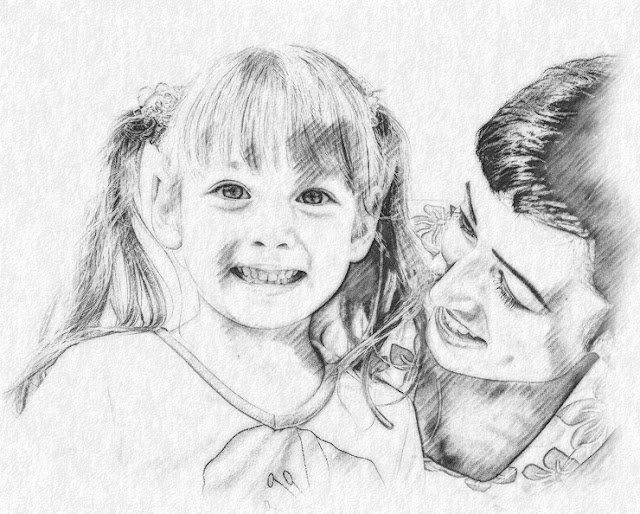
Select our script from the 'Scripts' menu or 'Browse...' for it. Scripts are as simple to use as clicking on an Action. In one click, you get this result.
You can use this as a start point to create additional appearances of your Photoshop image. If it isn't open, select 'Layers' from the Photoshop Window menu.
You can use this as a start point to create additional appearances of your Photoshop image. If it isn't open, select 'Layers' from the Photoshop Window menu.

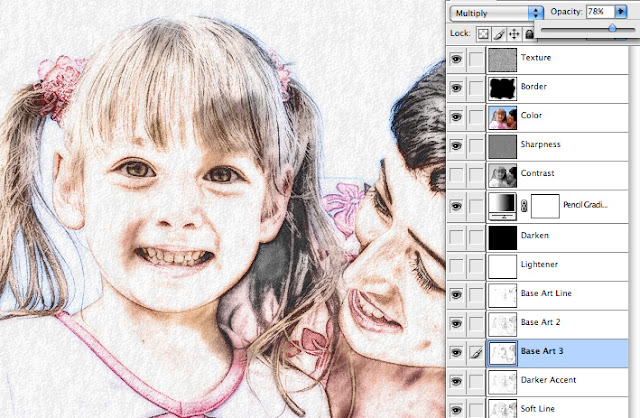
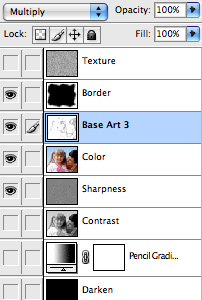
In the example below, if you shut off the "Base Art 3" layer (by clicking on the icon box to the left of that layer) you can change the appearance of the effect. You can also darken the effect by turning 'on' the "Darken" layer.
You'll notice that this script generates a few layers that allow you to adjust the sharpness, lightness, darkness and texture of the effect. Again, adjusting these layers, by their opacity, visibility or blend mode, changes the appearance of the effect and allows you to customize the result.

Another example would be to leave "Base Art 3" on and instead, turn off the "Base Art 2" layer.
This will give a softer pencil shading effect, like using a dull or worn pencil lead. You can soften the effect even more by turning 'off' the "Sharpness" layer.

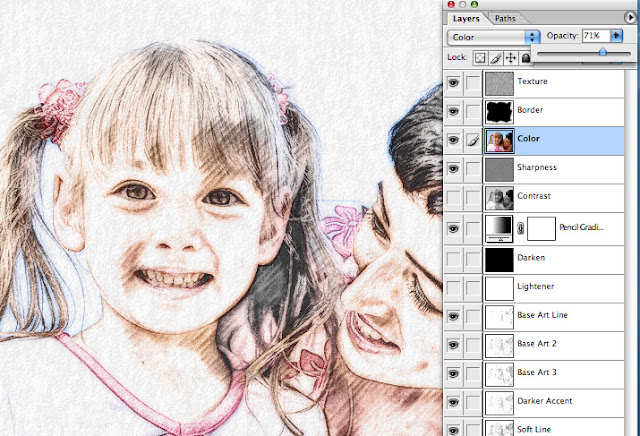
A "Color" layer is also available for you to add splashes of color to the Pencil effect. The color layer has a Mask associated with it. It currently is black and doesn't allow any color to show through. Select a paint brush from the tool pallet and select white as the color you'll be painting with. Important, Select the "Color" layer 'Mask' before painting. Start painting on the image in areas that might draw viewer attention.


You can make the image look like a hand coloring by reducing the opacity of the "Color" layer. Now, some of the Pencil effect comes through the color layer.
Another way of using the color layer is to remove the mask altogether.
Now for some more fun.
Now to get tricky.
One last thing I'd like to show you.
Another way of using the color layer is to remove the mask altogether.
(Or by selecting the mask and fill it completely with white.)
Select the "Color" Layer and change the 'Blend Mode'. The blend mode would be currently set to 'Normal'. From the drop down menu at the top of the 'Layers' Pallet, select 'Color' as the mode. This is shown in the top right area of the example image below.

Now for some more fun.
This would be a good time to select the "Base Art 3" layer and select 'Gaussain Blur' from the
Filters >> Blur >> Gaussain Blur... menu. A small amount should do, maybe 2.5.
Filters >> Blur >> Gaussain Blur... menu. A small amount should do, maybe 2.5.
Set the Opacity of the "Base Art 3" layer to 100%, it will make it appear richer.

Now to get tricky.
I went back to my original image and used the #2 Pencil Script again.
I also painted the mask area to show color on the girl's face.
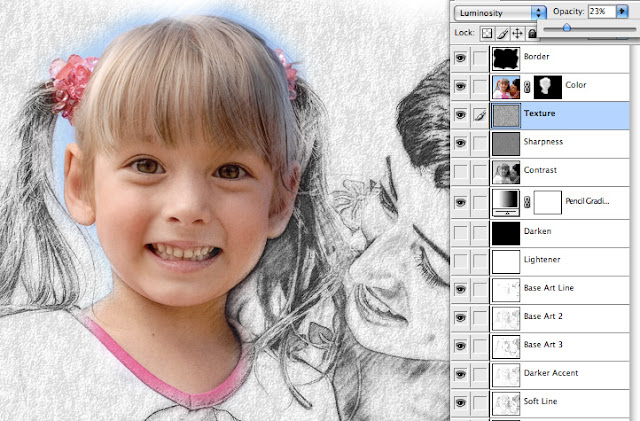
In all the above examples, the "Texture" layer has been at the top of all other layers. Try increasing the opacity of the "Texture" layer a little, from 10% to 23%. Then drag the "Texture" layer below the "Color" layer.
This really make the image POP!

One last thing I'd like to show you.
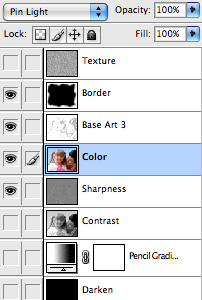
Paint some areas on the color Mask to add some color detail.
Drag the "Base Art 3" Layer above the "Color" layer
Set the 'Opacity' of this layer to 100%
Now, set the "Color" layer's 'Blend Mode' to 'Pin Light'.
